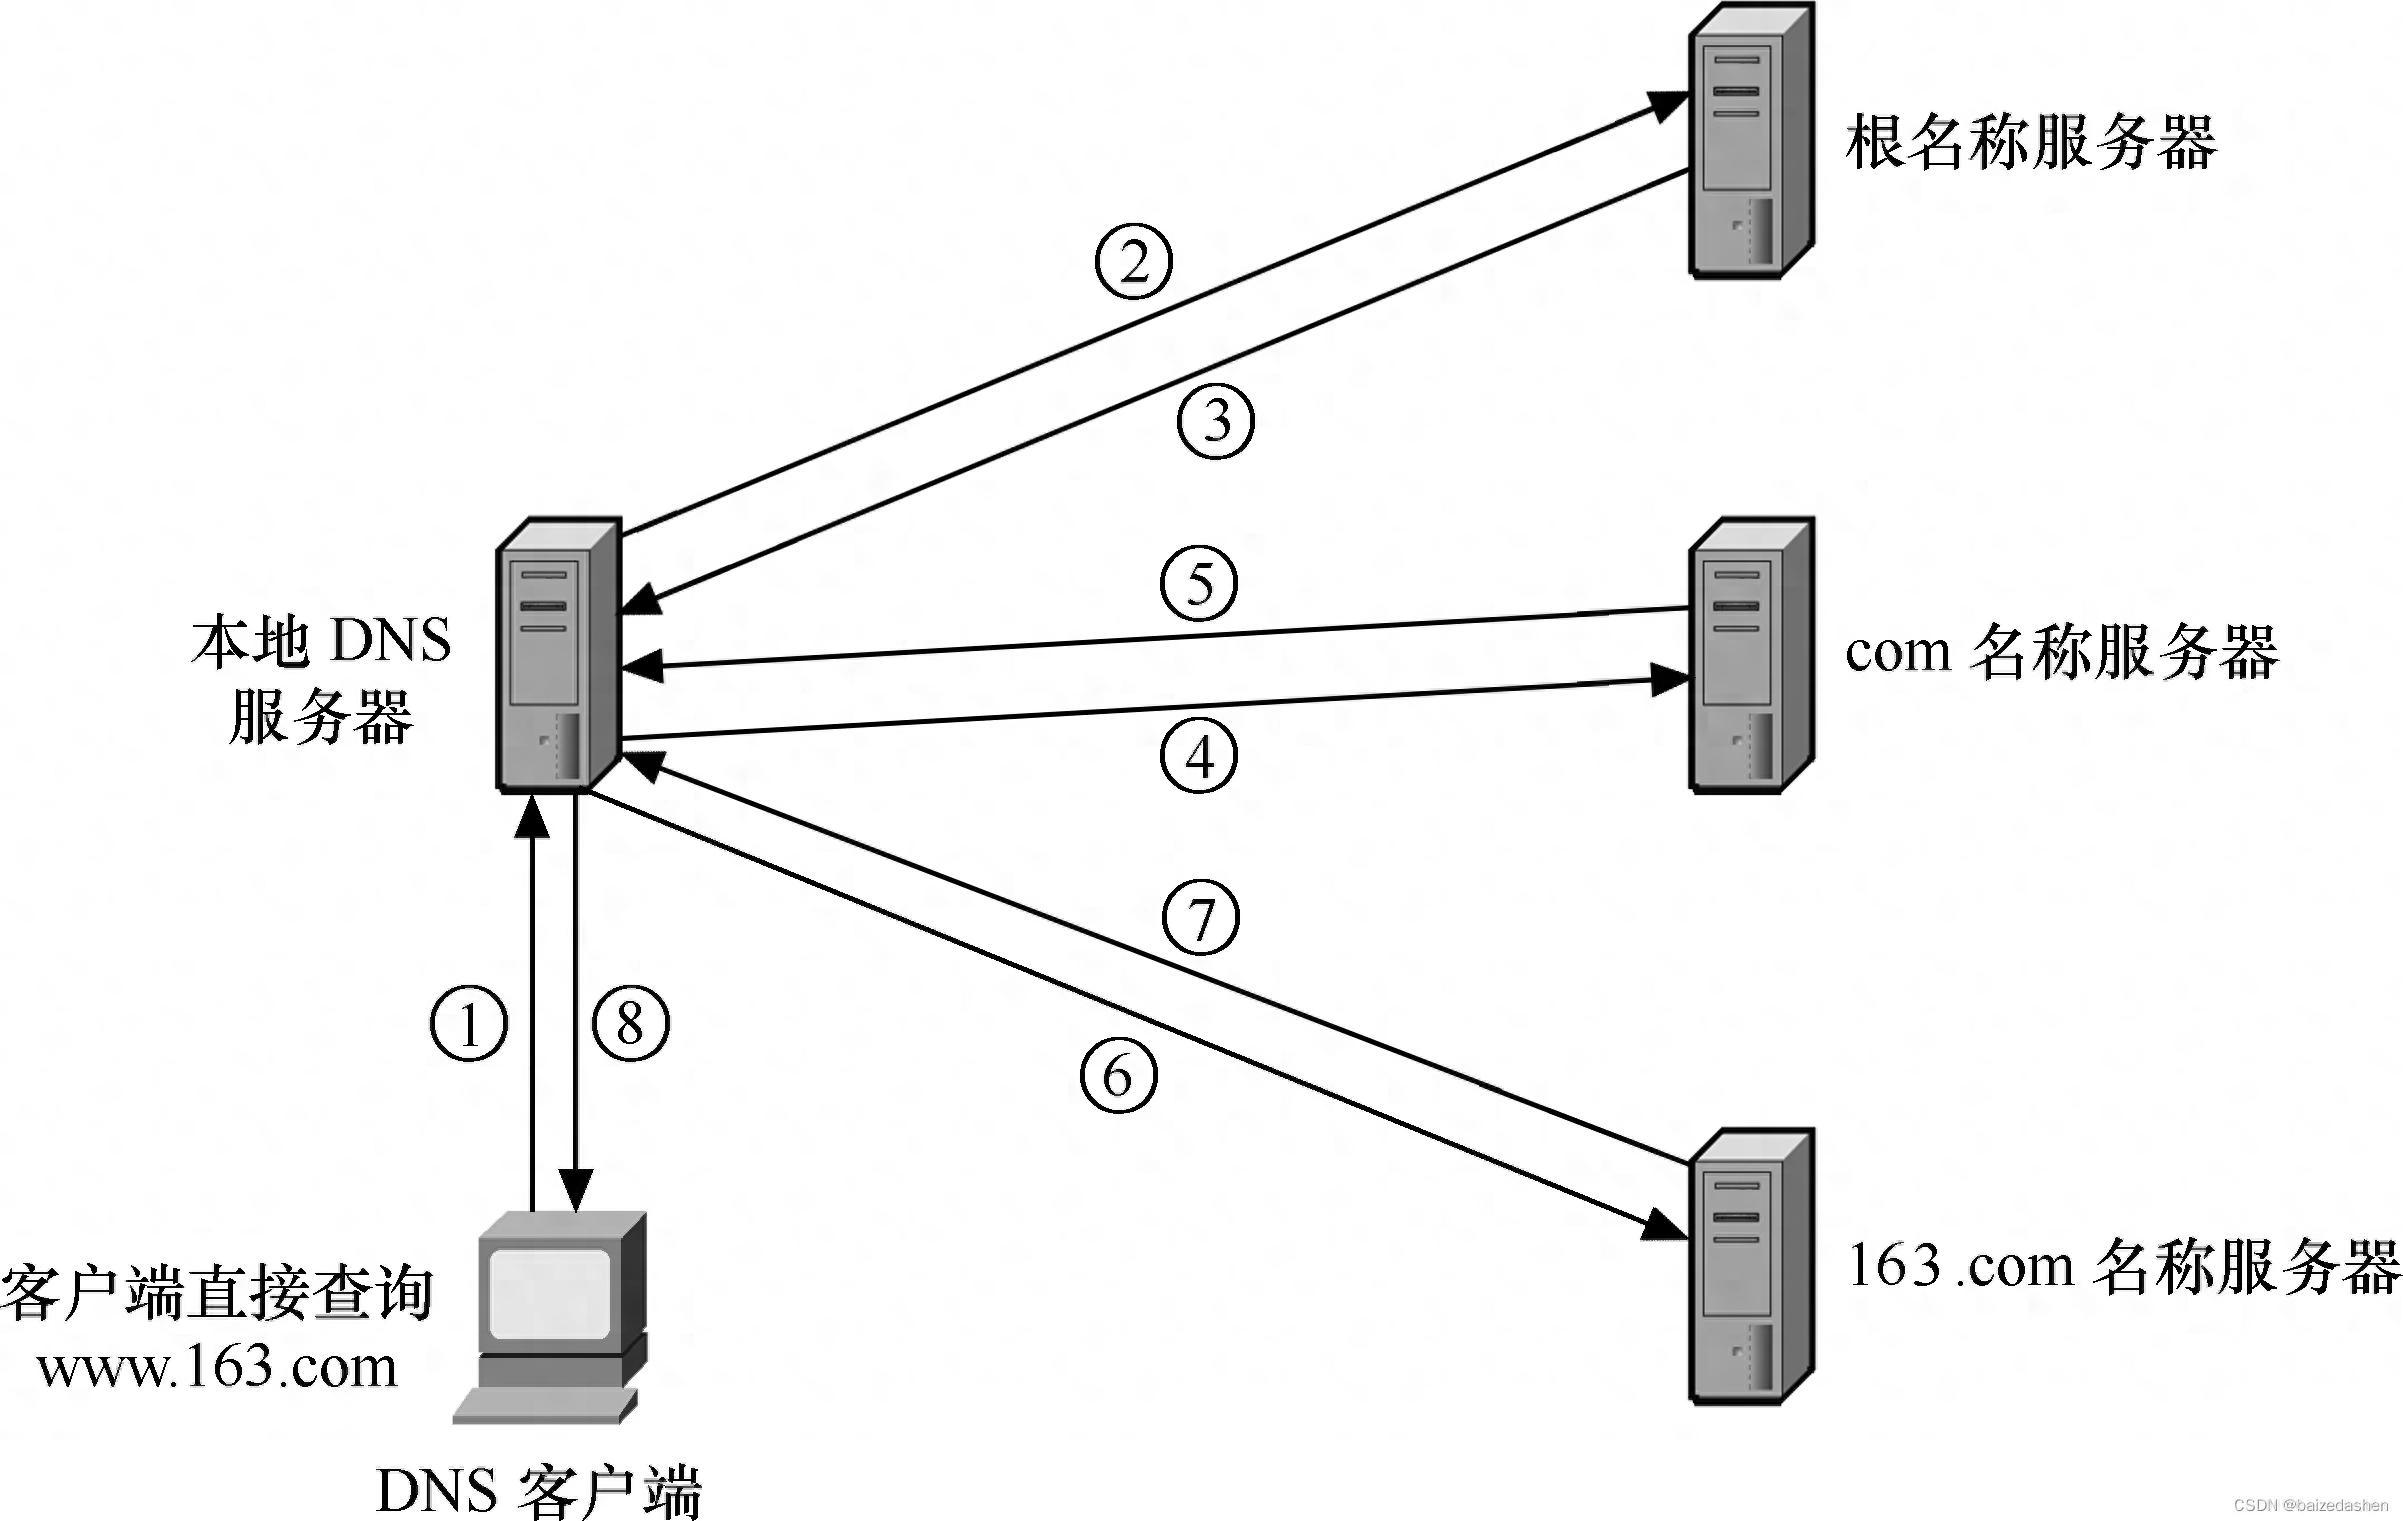
在现代网络架构中,DNS(域名解析)是访问互联网的关键环节。搭建一个高性能、低延迟、可缓存加速的私有 DNS 服务器,不仅可以提升访问速度,还能增强网络隐私和安全性。本文将基于 Linux 系统,详细讲解如何使用 Bind9 搭建一套高性能的 DNS 服务器,并进行缓存优化配置,支持内网和公网环境使用。

二、环境准备
• 操作系统:Ubuntu 22.04 / CentOS 8
• 安装软件:
• Bind9(主程序)
• 服务器要求:
• 最低 1 CPU / 1GB 内存
• 公网或内网 IP
三、安装 Bind9
在 Ubuntu 上安装:
sudo apt update
sudo apt install bind9 bind9utils bind9-doc -y
在 CentOS 上安装:
sudo yum install bind bind-utils -y
安装完成后,查看版本:
named -v
示例输出:
BIND 9.18.12 (Stable Release)
四、配置 DNS 服务器
1. 编辑主配置文件 named.conf.options
路径一般为
/etc/bind/named.conf.options。
sudo nano /etc/bind/named.conf.options
修改内容如下:
options {
directory "/var/cache/bind";
recursion yes; // 启用递归查询
allow-recursion { any; }; // 允许所有人递归查询(可根据需要限制)
listen-on { any; }; // 监听所有 IP
allow-query { any; }; // 允许任何主机查询
forwarders {
8.8.8.8; // 转发到谷歌DNS
1.1.1.1; // 转发到Cloudflare DNS
};
dnssec-validation auto;
auth-nxdomain no;
listen-on-v6 { any; };
};
2. 配置区域文件(可选:用于自建域名)
如果只作为缓存服务器,可以跳过。
五、启动并测试服务
1. 启动 Bind9
sudo systemctl restart bind9
sudo systemctl enable bind9
检查状态:
sudo systemctl status bind9
2. 修改本机 DNS 解析器
将 /etc/resolv.conf 指向本地 DNS:
nameserver 127.0.0.1
六、优化 DNS 缓存性能
在 named.conf.options 中添加或调整:
max-cache-size 256M;
max-cache-ttl 86400;
max-ncache-ttl 3600;
说明:
• max-cache-size:最大缓存大小(建议根据服务器内存设定)
• max-cache-ttl:正向解析缓存最大存活时间
• max-ncache-ttl:负向解析缓存最大存活时间
调整后重启服务:
sudo systemctl restart bind9
七、性能测试与验证
使用 dig 测试:
dig www.google.com @127.0.0.1
第一次查询会略慢,第二次查询应明显提速(由于缓存生效)。
八、总结
通过本文的完整部署流程,你已经成功搭建并优化了一个高性能 DNS 服务器,能有效提升局域网或个人设备的 DNS 查询速度,并能进一步保护网络隐私。


发表评论 取消回复